
Third article in the series about video in digital businesses.
In the first one, I talked about how we integrate AI into our video creation workflow at Yo pongo el hielo (we’ll revisit some aspects of that article today).
In the next one, I explained the formats and codecs you need to handle in your creations. And my workflows.
In this one, I’m going to explain my tool stack and why I use these applications rather than others.
The aim is that, whether you are just starting to use this communication channel and do not know much about it, or you already use it but need to improve or expand some area, my experience may give you a few ideas.
I’m going to list the applications by use, so in most cases you’ll see that each group contains just one program. That is because, in almost every case, there is little point in using two programs for the same thing.
That does not stop me from mentioning other software I think you should know about, even if I do not use it.
#1. Video editors
Video editors are the quintessential video software.
This is where you cut the clip sections you need, add music and subtitles, apply effects, add an intro or outro, and place the logo or on-screen “bug”…
In short, editors are the programs that let you combine every part of a video and assemble the final edit.
There are different ways to classify them:
- Depending on whether they can be installed on a PC or mobile device, or are online.
- There are free and paid options. Some even combine freemium models, where some features are free and you have to pay if you want the more advanced ones.
- Among the free options, some add a watermark and others export without one.
Of all these options, these are the ones I use.
Video editors for PC
I currently work with Windows. In the past I used Linux for quite a while and, briefly, a Mac.
And in the end, I always come back to Windows.
Because my go-to applications are not available on the other operating systems. And even when some are, they use different keyboard shortcuts that I never get used to.
And because, of all the advantages—each OS has its own—the Windows ones make my working life easier.
I’m telling you all this because the applications listed below are designed to be installed on Windows. So you will not find Final Cut Pro —one of the most popular editors for Mac—among them.
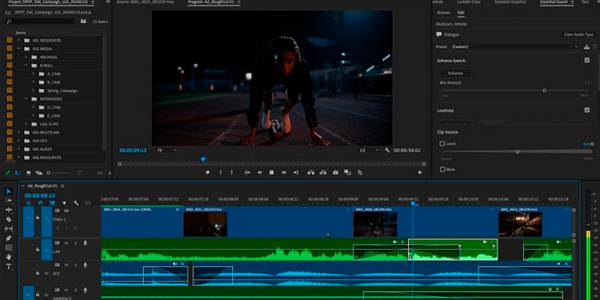
Adobe Premiere Pro
https://www.adobe.com/es/products/premiere.html
Let’s start with a true classic.
It is the program I used to learn video editing when I was at university, back in 2002. I remember the first time I discovered it, at the home of a classmate who edited videos professionally.
And I remember how easy it seemed to edit simple videos while controlling just two things: the audio and its volume, and the video and its opacity.
With only that, you could—and still can—produce more than respectable work.
So Premiere is the professional video editor I have used for more than 20 years, which makes switching now difficult, and honestly I am not considering it.
It is paid software, though. There are two options:
- Buy perpetual licences from third-party suppliers for around €100.
- Pay the monthly Adobe subscription, whose price varies depending on which products from its content-creation suite you include and starts at around €20 per month.
CapCut
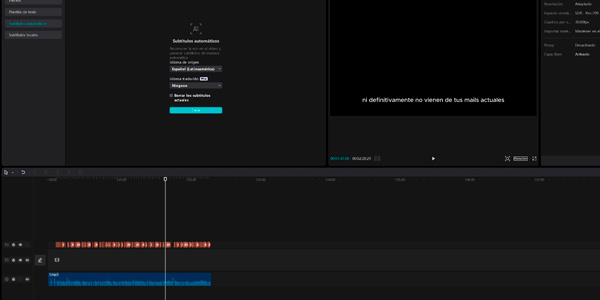
However, if I were starting to edit video today, I would probably begin with this one.
Why?
I think it is better suited to what a video editor needs today.
CapCut is an all-in-one tool with absolutely everything you need to create any kind of video, from training content to quick videos for social media.
It also has advanced options that Premiere lacks.
On top of that, the learning curve is gentler than Adobe’s program.
I use it for very specific things, but if you want to learn one editor for producing all kinds of videos, I think it is the best option.
DaVinci Resolve
https://www.blackmagicdesign.com/es/products/davinciresolve
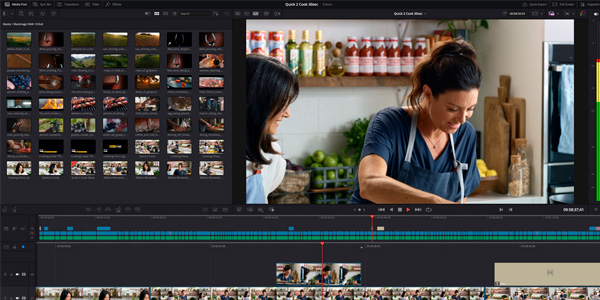
The professional freemium editor.
I have not used it, but I had to mention it because I know people who edit with it—including one of my business partners—and they speak very highly of the platform.
Its powerful free version and even more powerful professional edition make it very attractive.
By the way, Netflix uses it for its productions. In case you had any doubts about its capabilities.
Online video editors (web)
Whether your computer has limited resources or you use operating systems such as Chrome OS or Android, online video editors are available.
If I do not have any of my PCs with me and need to edit video online, I know exactly which option I choose.
CapCut
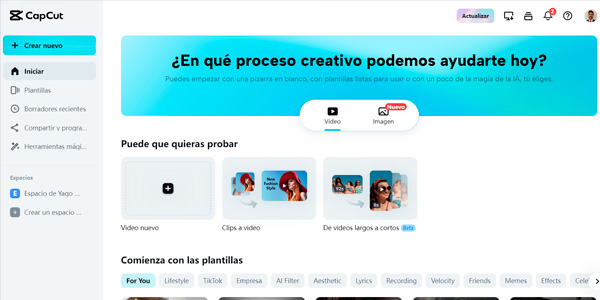
Yes, besides its desktop application, the program also has a more than respectable online editor.
Although it does not offer all the same possibilities, you can still use it as your main editor despite the codec “problem”.
#2. Video converters
If you work with video professionally, you will need to convert files.
Nothing new if you work in this field or read the article where I discussed video formats and codecs.
As with editors, there are installable converters and online ones.
Video converters for PC
For professional work, files are generally quite large, so having a video converter installed optimises the time you spend. It saves you waiting for uploads and downloads.
Unless your PC is old or has very limited resources, I will always recommend installing a converter for video work.
HandBrake
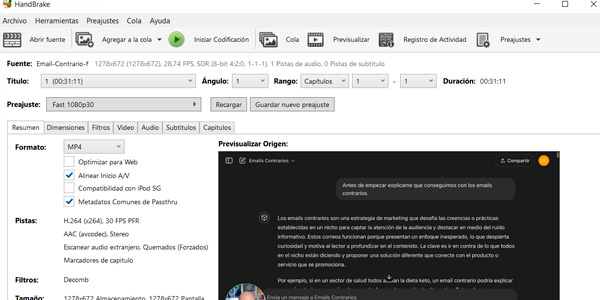
This is the one I use.
And honestly, it has everything I need:
- Ability to convert between the most commonly used formats and codecs.
- Option to change resolution and quality, producing very lightweight files.
- It uses multiple CPU cores to speed up conversion (ideal if, like me, you work with PCs that have many cores).
- Very easy to use, with just the right options.
- Free.
Nothing else to add.
Online video converters
There are thousands.
I only use them for non-professional tasks or very, very quick jobs, usually involving audio files rather than video.
I am not recommending a particular one because I simply use the first result Google shows me when I search for “mp4 to mp3 online converter” or something similar.
#3. Screen recorder
When I create tutorials, courses or any kind of training, or when I record user tests for websites, I often need to record the screen to explain how something is done.
Although I tried several alternatives at the time, since discovering this one I have not tried any others.
oCam
https://ohsoft.net/eng/ocam/download.php
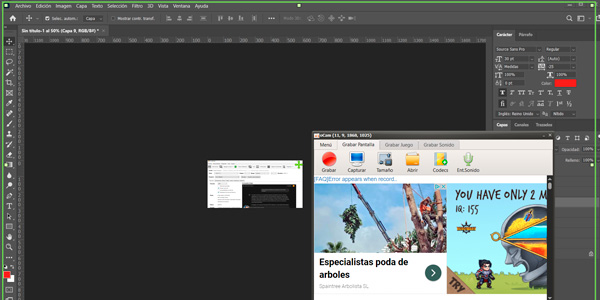
It is a small free program—with a little unobtrusive advertising—that I use to record my PC screen.
And I chose it because it gives me everything I need:
- Record in good quality.
- It compresses videos well (although I edit them afterwards).
- It lets me set whatever resolution I need: vertical or horizontal, and I can adjust it to the exact pixels I want.
- I can record—or not record—the PC microphone.
- It can also capture the PC’s audio, meaning whatever is playing on the computer.
- It also lets me add a webcam frame wherever I want, which is useful for certain training videos.
- Finally, it can display coloured circles when I click the mouse.
I have never needed anything for recording my computer screen that oCam could not do.
And again, it is free.
#4. AI tools for working with video
I already wrote an article about how to use AI to create social media videos, including the entire process we follow at Yo pongo el hielo.
I’ll summarise them by use case and add a few others that we did not use in that process but that I use on other occasions.
Creating text-to-video or image-to-video content
You know the drill: you write some text or provide an image, and it creates a video clip.
I have used two here—and I am going to use a third:
- Runway: the best, but it is not cheap. https://runwayml.com.
- KREA: much cheaper. Much worse. I lasted two months with it. https://www.krea.ai.
- Kling AI: the one that will replace the previous tool next month. https://klingai.com.
Creating images from text
Once again, I use two other tools for this:
- Ideogram: for almost any kind of image. A good free plan, although it keeps getting slower. https://ideogram.ai.
- Flux: magnificent. Very, very good. You can try it free with no limits on Hugging Face (https://huggingface.co/login?next=https%3A%2F%2Fhuggingface.co%2Fblack-forest-labs%2FFLUX.1-dev) or through Freepik’s freemium plan (https://www.freepik.es/ia/generador-de-imagenes).
These images complement AI-generated videos very well, letting you show part of an idea or a concept with a still image—and a pan, remember, this is video ;).
Improving audio
Very often, when you do not record with a professional microphone, the audio in your videos does not reach a minimally acceptable standard.
Or it just meets the minimum, but you want to improve it.
This is where Adobe has a tool for us:
- Adobe Podcast Enhance: upload an audio file, let it work its magic, and download it again. The file is much larger, but the quality is dramatically better. Seriously, it feels like magic.
And it is free for audio files up to 30 minutes long, with one hour of processing per day.
Enough for most people.
https://podcast.adobe.com/enhance
Automatic subtitles
Social media has popularised subtitles.
That is a fact.
And until this tool arrived, adding them was a total bloody pain.
Then CapCut came along and let us press a button to generate them and export the video with the subtitles embedded.
I am not adding the tool’s link because I have already included it several times throughout the article.
Video timestamps
If you create training content and want to add video timestamps, or want ChatGPT to make a summary and need the narration as text, there are several tools.
- If the audio is under 30 minutes, use TurboScribe (https://turboscribe.ai/es/).
- If it is longer, wait for my article next week, because the process involves several tools.
Voice-over: text to speech
Obviously I always use my own voice for training content, but for adverts you can use whatever voice you need.
It lets you use voices of people of any age or gender. It does have limitations, though, especially when you ask it to speak Spanish.
- ElevenLabs: at the moment, I think it is the best, and it is the one I use. https://elevenlabs.io/
Creating scripts or storyboards
I use scripts both for training content and for creating adverts.
I write the former entirely by hand.
For the latter, I rely on AI more every day.
Which AI?
- ChatGPT: yes, the best-known one. It can do a lot—including, of course, creating all kinds of scripts—and it is free. Or, if you want to level up, its monthly price is ridiculously low for what it offers. https://openai.com/index/chatgpt/
Avatar animation
- If you need to animate a real or fictional character for your videos, you should use HeyGen . Nothing else comes close in quality, although I am eagerly awaiting Freepik’s solution. https://www.heygen.com
Animating characters is neither easy nor cheap. Synchronising facial expressions with the voice-over is even harder.
Until now.
Try this process:
- A character created in Ideogram.
- A voice-over generated with ElevenLabs.
- Animate the avatar with HeyGen.
And then tell me how it went.
#5. Creating adverts or intros
Creating the effects for a professional social media advert is not easy.
I mean the motion graphics.
Transitions, text effects and animations…the kind of visuals you find in genuinely professional adverts.
I have not tested AI enough for creating them… because I have another solution that works for me for now.
Offeo
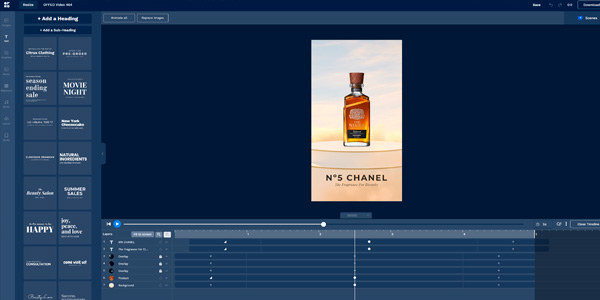
As its slogan says: create product videos in minutes.
With animations. And motion graphics.
I can confirm that it works, because since buying a perpetual licence I have used it constantly, even though it sometimes slows down when many users are online.
Look at the examples on its website and you will see what you can do very easily.
#6. Recording voice-overs
When I have to record a voice-over, I do not make life complicated.
Not at all. Not even slightly.
Windows Sound Recorder
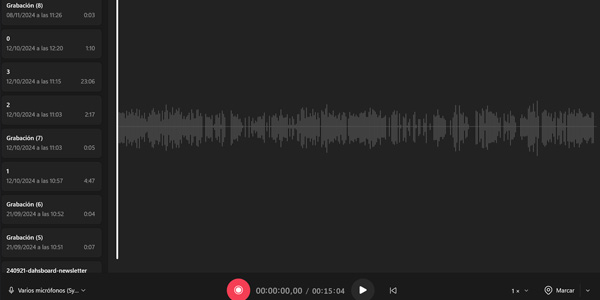
There is no mystery to it. It comes with Windows and works like old tape recorders: open it and start recording by pressing a button.
When you finish, depending on the microphone you used, either run it through the Adobe audio-enhancement tool I mentioned above or leave it as it is.
And that is it.
#7. Animated GIFs
Sometimes you need to add a GIF for:
- A social media advert.
- A short clip in a tutorial or training resource.
- An animated image for a website.
I always, always, always use the same tool.
Photoshop
https://www.adobe.com/es/products/photoshop/landpa.html
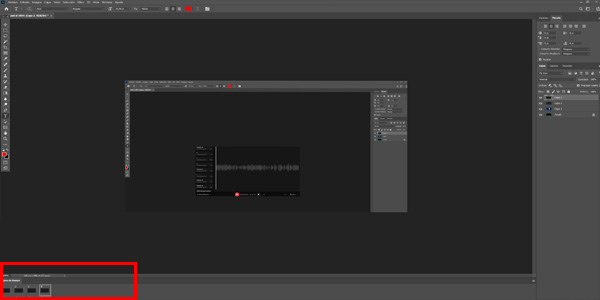
Yes, because Adobe’s tool works with images. But by adding the Timeline panel, we can create GIFs while controlling everything we need—frames, each frame’s duration, loops, repetitions and so on.
Photoshop is useful for many other things, of course, but it can also create GIFs.
#8. Working with streaming video
Here I mean two professional uses of video: video calls, live online training and streaming your content—not watching Netflix.
Video calls or live training
You know: meetings with clients, colleagues, bosses or suppliers where you see one another or share screens, which became popular during the pandemic and never went away.
Online training sessions also fall into this category.
I use the following tools.
Google Meet
https://meet.google.com/landing
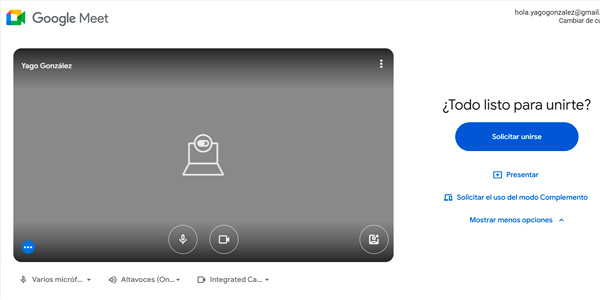
For convenience, because it is integrated with Gmail and Google’s suite, it is the tool I use most often.
Its advantages are the ones I have just mentioned, along with its ease of use.
In my case, its disadvantages are three:
- First, on the free plan, a session can last one hour. Once that time is up, Google may cut the call off at any moment.
- Second, it only records at 720p. This can sometimes be a problem when you share your screen and show programs with small interfaces, especially when watching the recording later.
- The third is the worst: when recording the meeting, it does not record the entire screen, but instead shows the camera of whoever is speaking at that moment. This applies to both free and paid plans.
That last disadvantage is not minor, so if you plan to record sessions with several people, either use Google Meet together with oCam—as I do—or consider other alternatives…
Zoom
For example, this one.
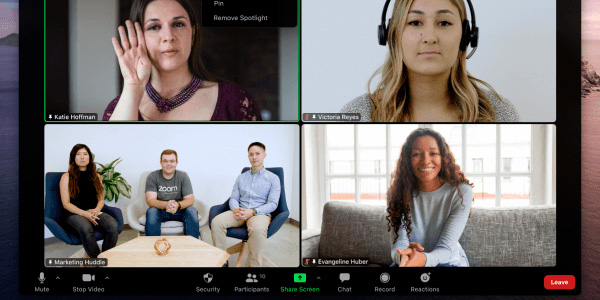
Zoom does the same as Google Meet, but gives you more options.
This is both an advantage and a disadvantage because, in my opinion, it is somewhat more complicated to use.
That said, for live online training I think it is much better than the previous option.
Streaming
Although live online training could be included here, I preferred to leave it in the previous section and focus here on the solutions available for controlling what you broadcast to an audience.
For example, on YouTube or Twitch.
I mean the image sources: one monitor, another monitor, the webcam… what appears and where.
I have never done it professionally, only as an amateur, so I can only tell you about the one tool I tried.
OBS Studio
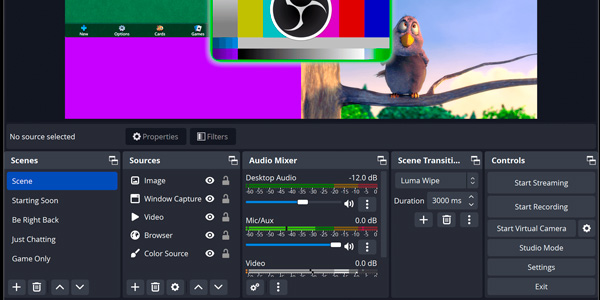
It is software you install on your PC that lets you do exactly what I described: control the audio and video you broadcast to your audience by layering sources.
Since I have not used it seriously, my opinion is very limited, although it seems to offer many possibilities, at the cost of a certain level of complexity.
I suppose getting used to it is just a matter of time.
#9. Video players
To finish covering the tools I use every day for video work, I still need to mention the players I use, which are not many.
Video players for Windows
I almost always use one of these three.
Movies & TV
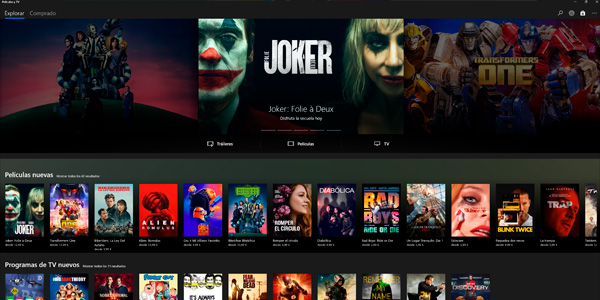
It is the first one I use because it comes installed with the operating system.
Also, after trying several, it gives me the best picture quality on my television. It is a matter of HDR management and colour depth.
It does require extra codecs to play many files, though.
- H.265 extension : https://apps.microsoft.com/detail/9nmzlz57r3t7?hl=es-ES&gl=ES
- AV1 extension : https://apps.microsoft.com/detail/9mvzqvxjbq9v?hl=es-ES&gl=ES
- It also has problems when selecting subtitles or audio tracks in files with several languages.
PotPlayer
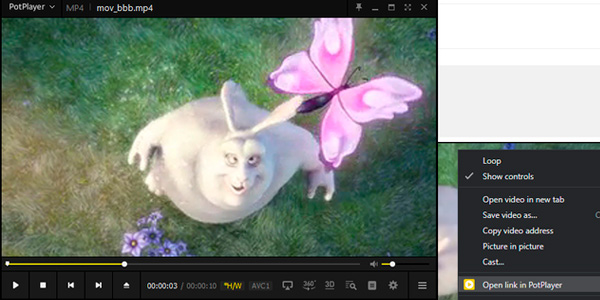
When the Windows player gives me trouble and it is my own PC, I install this one instead.
Much better codec support and better performance. It also has advanced options, such as playing files while they are still downloading—the previous program does not even open them, for example.
In return, it delivers worse picture quality on my television. Although I assume I could match it by tweaking the settings.
It also has so many options that it can be complicated for someone without experience in this area.
That is why I install the next option on other people’s PCs.
VLC

https://www.videolan.org/vlc/index.es.html
Another true classic.
A pioneer among video players.
Its greatest strength is that almost everything works without having to change almost anything.
So when I do not want complications—and above all for people who do not want complications—this is the most suitable option.
Conclusions
We have given all the video tools I work with a thorough review.
As you can see, there are quite a few.
Each one has a specific purpose, but if you want to start working with video, begin with an editor. It is the program that will let you create more or less whatever you want.
From there, for each specific task, you can try the tool I suggest—the one I use—or an alternative.
This is the best route for starting to work with video, whatever your goal: social media, training, fiction or anything else you can think of.
I hope this software guide helps. If it does and you want more content like it, here are all the articles about video for digital businesses.
And remember: a new article about digital business in your inbox every Thursday when you subscribe here.

Leave a Reply